Image-to-video AI has matured fast heading into 2026: today’s best tools don’t just “wiggle” a photo—they can generate coherent camera moves, believable motion, and even shot-to-shot continuity (in some cases) from a single frame or a pair of frames. The tradeoffs now come down to control vs speed, realism vs stylization, and pricing vs output quality.
Below are the 5 best image-to-video AI tools to use in 2026, with Deevid AI ranked #1 as requested. (Pricing/features reflect what’s publicly listed as of Feb 6, 2026.)
How I picked these tools (so the list is actually useful)
I prioritized tools that do at least one of the following really well:
- True image to video AI (not “video editing only”): start-frame animation, start/end frame interpolation, or multi-image guidance
- Creative control: keyframes, motion brush, camera controls, or strong prompt adherence
- Production readiness: consistency, fewer artifacts, clearer licensing tiers, and predictable pricing
- Creator workflow: fast iteration, templates, and easy exports
Quick comparison (at a glance)
| Rank | Tool | Best for | Control highlights | Typical entry price* |
| 1 | Deevid AI | Fast, all-in-one creation + strong value | Start image, start→end transitions, multi-image flow | From ~$10/mo |
| 2 | Runway | Highest-end cinematic look + pro workflows | Keyframes + image-to-video controls; Gen-4/4.5 era | From ~$12/mo |
| 3 | Kling AI | Realism + longer clips + native audio trends | Start/end frames + motion control; 3.0 highlights multi-shot + audio | Varies by access/provider; API priced per-second |
| 4 | Luma AI Dream Machine | Clean cinematic motion + fast iteration | Text/images/clips; Ray3.x updates; clear plan tiers | From ~$7.99/mo |
| 5 | Pika | Social-first effects + transitions | Pikaframes (start+end frames) + templated effects | Credit-based plans |
*Entry prices are “starting tiers” and can change; always confirm on the official pricing page.
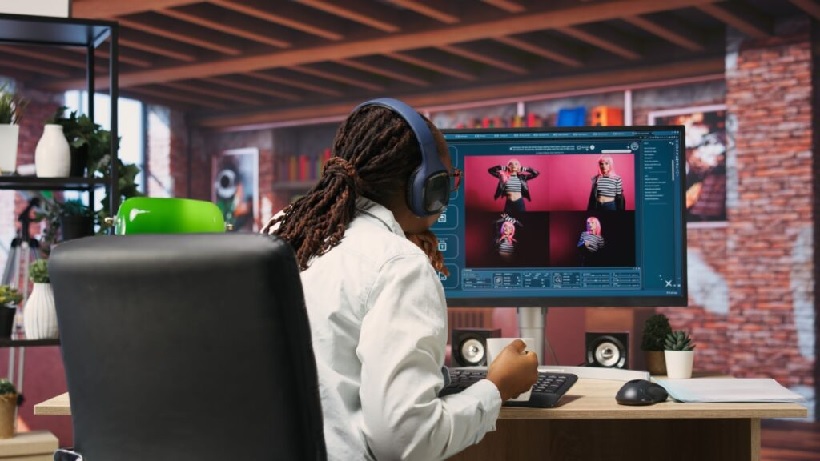
1) Deevid AI — Best overall for creators who want “fast + good + affordable”
If you want the shortest path from a still image → a usable video, Deevid AI video generator is the most practical pick in 2026. It’s positioned as an all-in-one workflow: upload one (or multiple) images, generate animation/transitions quickly, and keep creating in the same product across other AI assets (like image generation and other tools listed alongside the image-to-video feature).
Why it’s #1
- Simple workflows that match real use cases: single image animation, start→end frame transitions, and multi-image sequences are explicitly supported in its app listing.
- Value-first pricing: Deevid’s pricing page shows an entry tier around $10/month, which is unusually approachable for regular iteration.
- Made for conversion-ready output: the product messaging emphasizes speed, ease, and “one tap” creation—exactly what most ad/UGC workflows need.
Best for
- Performance marketers making lots of variations (ads, hooks, product angle tests)
- UGC creators who need “good motion” without learning a pro pipeline
- Anyone who wants predictable cost and low trial-and-error overhead
Downsides
- If you need the most advanced director-grade controls (deep keyframe graphs, complex shot choreography), #2 and #3 can go further—often at higher cost/complexity.
2) Runway — Best for cinematic quality and pro-level control
Runway remains the “filmmaker-friendly” choice: a polished creation suite, strong research pace, and increasingly robust control modes. Their Gen-4.5 research notes explicitly call out that control modes like Image to Video and Keyframes are part of the direction of the platform.
Standout strengths
- Keyframes for guided motion: Runway’s docs describe keyframes that let you configure starting/middle/ending frames to create smooth transitions.
- Strong model evolution: Gen-4 focused on consistency across scenes/characters, and Gen-4.5 continues the trajectory.
- Clear pricing page and tiers: entry pricing is publicly listed.
Best for
- Creators who want “cinematic” motion and are willing to iterate
- Teams producing brand films, trailers, or high-end social spots
Downsides
- Can be more expensive at scale (credits add up fast when you iterate heavily).
- Some workflows feel “pro tool” rather than “one-click.”
3) Kling AI — Best for realism + longer clips + the native-audio direction
Kling AI (by Kuaishou) is one of the most important image-to-video competitors right now, largely because it’s pushing toward more production-ready outputs—including longer generation and integrated audio narratives in its latest cycle of announcements/coverage.
Standout strengths
- Start/end frame storytelling: Kling’s ecosystem strongly emphasizes start→end frame generation (great for transformations and transitions).
- Motion control workflows: “motion control” approaches (painting motion paths onto an image) are documented in model documentation like the Kling v2.6 motion-control readme.
- API availability & per-second pricing (via providers): for example, Kling 2.6 Pro image-to-video pricing is listed per second on one widely used AI model platform.
Best for
- Creators who want convincing realism and coherent transitions
- Users who care about where the market is going (multi-shot + audio workflows)
Downsides
- Access, pricing, and UX can vary depending on region/provider/integration.
- The fastest path to “great output” often requires prompt discipline and multiple takes.
4) Luma AI Dream Machine — Best for clean cinematic motion with straightforward tiers
Luma AI Dream Machine is a strong choice when you want cinematic-feeling results and a clean, modern workflow. Luma explicitly positions Dream Machine as generating video from text, images, or clips powered by Ray models.
Standout strengths
- Consistent product cadence: Luma’s January 2026 update describes Ray3.14 with native 1080p, faster generation, and lower cost—useful signals for image-to-video users who iterate a lot.
- Clear plan structure: Luma’s pricing page is unusually transparent (free/lite/plus/unlimited style), including notes about draft mode, watermarks, and commercial use constraints by tier.
- Good “cinematic defaults”: great for moody camera moves, atmosphere, and clean motion.
Best for
- Creators who want cinematic motion without assembling a complex pipeline
- Users who prefer clear subscription tiers over scattered add-ons
Downsides
- Short-form limits and plan restrictions can matter depending on tier and intended usage.
5) Pika — Best for social-first effects, transitions, and templates
Pika is a strong pick if your “image-to-video” needs look like: trendy transitions, punchy effects, and quick creative experiments—especially for TikTok/Reels-style content.
Standout strengths
- Pikaframes (start + end frame image-to-video): Pika’s FAQ describes Pikaframes as an image-to-video feature where you upload the first and last frame to generate the in-between motion.
- Credit-based clarity: pricing shows how many credits you get and typical costs per video for different modes/features.
Best for
- Creators who value style, speed, and “viral format” motion
- Anyone making frequent transitions, effects, or playful edits
Downsides
- Not always the first choice for photorealistic, brand-film style outputs.
- Credit economics can surprise you if you lean on higher-cost modes.
Which tool should you choose?
- Pick Deevid AI if you want the fastest end-to-end workflow and the best value-per-output for everyday creation.
- Pick Runway if you want top-tier cinematic output and more serious controls (keyframes, higher-end generation workflows).
- Pick Kling AI if you care about realism, longer clips, and the audio+multi-shot direction that’s shaping 2026.
- Pick Luma Dream Machine if you want clean cinematic motion with clear subscription tiers and a fast-improving model line.
- Pick Pika if you live in social formats—effects, transitions, templates, and high iteration speed.
Tips to get better image-to-video results (no matter what you use)
- Start with a strong image: high-res subject, clean edges, minimal tiny text.
- Describe motion, not just the scene: “slow push-in,” “wind moves hair,” “camera pans left,” “subject turns head,” etc.
- Lock the subject: if the tool supports reference/multi-image, use it to reduce identity drift.
- Keep clips short and specific: short generations + multiple iterations usually beat one long “hope it works” run.
- Avoid “everything moves”: pick 1–2 primary motion elements to reduce warping.